
Direct Drilling: Five Common Mistakes First-Year Farmers Make
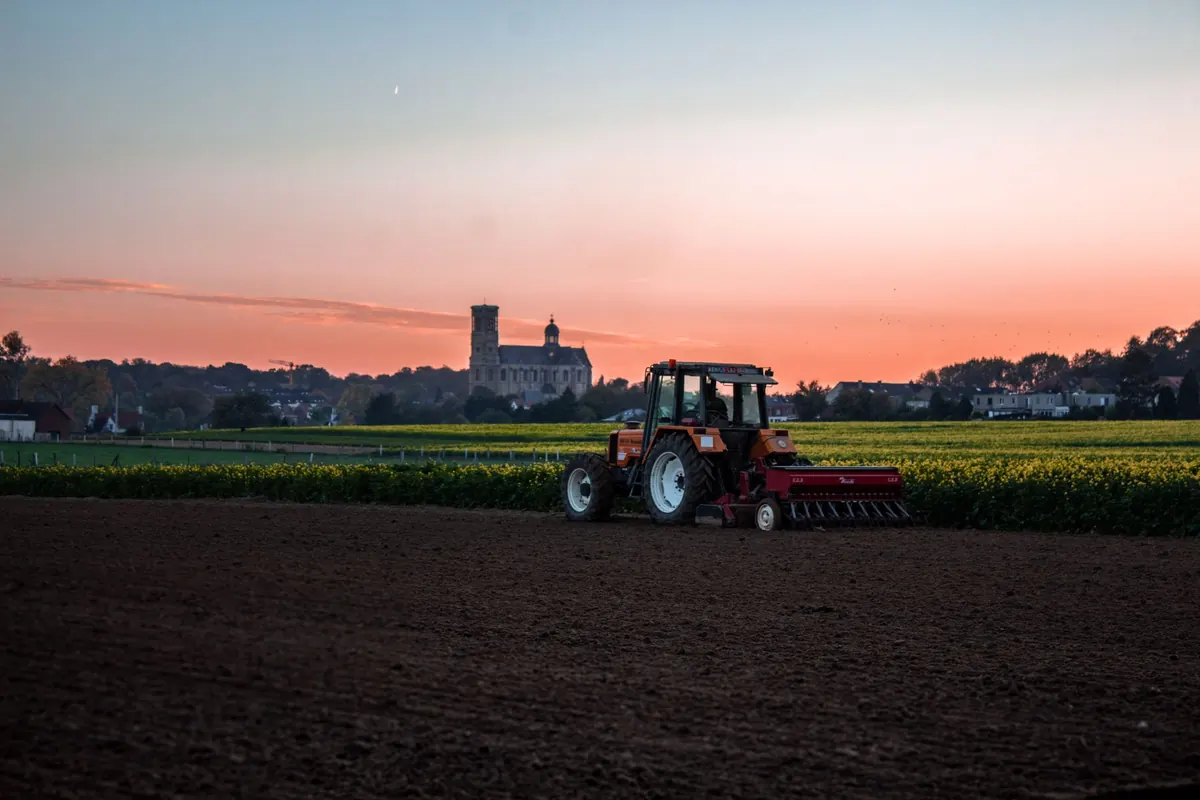
Direct drilling looks simple from the road: a tractor, a drill, a field of stubble, and by evening the seed is in. Anyone who has made it work over several seasons will tell you the real decisions happen before the drill moves — in the spade hole, in the trail of residue behind the combine, and in the plan for the following spring. First-year mistakes cluster around a handful of choices, and most of them are far cheaper to fix now than in June, when the crop has stopped listening.
Judging the Seedbed by the Calendar Instead of the Spade
The most common error is drilling because the date says so, or because the contractor is on the yard and the forecast looks reasonable. Direct drilling asks more of the soil than a plough does, not less. You are placing seed into a structure you have not created that day, so you need to know what is already there.
Get off the quad and dig. A spade hole to the depth of your intended slot will tell you more than any moisture probe. Look at how the soil breaks apart, whether old root channels are still open, and whether the surface is firm enough to carry the drill without smearing.
Then do the squeeze test. Roll a handful of soil from drilling depth into a ball and press it. If it holds together and slicks up like putty, it is too wet. A slot cut into soil like that leaves a polished wall the roots struggle to push through, and the damage lasts longer than the delay would have. If it crumbles and falls apart, you are probably fine on moisture but may be too dry for good seed-to-soil contact.
Waiting a week for better conditions usually beats forcing the drill through a marginal day. That is a hard sentence to accept when the seed is on the trailer.
Letting Residue Build Up Where It Shouldn't
Residue is the making or breaking of a no-till system, and it starts at the combine, not the drill. If straw and chaff leave the back of the machine in rows and lumps, you have already decided where this year's crop will be thin.
Check the spread width against the header width, and check it in a swath behind the machine rather than from the cab. Modern choppers and spreaders need setting for the crop and the conditions, and a windy day can undo a good setting in a single pass.
Where residue is heaviest, the risk is hairpinning: straw pushed into the slot instead of being cut through, leaving the seed sitting on a mattress of dry material with no contact with soil. It will not germinate properly, and no amount of later rain will rescue it.
Options include baling part of the field, raking to even out the load, fitting row cleaners, or simply waiting for the residue to weather and break down. You do not need a perfect chop across the whole farm. You need the same amount of material in every metre.
Drilling at the Wrong Depth — and Never Checking
Depth is where small mistakes turn into a patchy field. Drilling too deep is the classic first-year error, particularly with small-seeded crops. So is drilling too shallow on light land, where the seed sits in the drying zone and the slot stays open.
Do not trust the depth scale on the drill. A day or two after drilling, dig behind the machine and find the seed. Do it in several places: headlands, slopes, lighter patches, heavier patches, and both sides of the machine if it is wide. Wide drills on rolling ground can run very differently at the wings than in the middle.
While you are down there, look at the slot itself. It should be closed over the seed. An open slot loses moisture, invites slugs, and gives mice an easy meal. Check your press wheels and closing wheels are actually doing their job rather than just following along.
Seed rate deserves the same treatment. Weigh a known area, count the plants that emerge, and compare it with what you intended. Settings on paper and seed in the ground are two different things.
Treating the Burndown as a Box-Ticking Exercise
When you stop cultivating, chemical control stops being a tidy-up and becomes the foundation of the whole system. A rushed spray day shows up for the rest of the season.
- Spray in good conditions. Weeds under stress from cold, drought or waterlogging take up products poorly. Dull, slow-growing weeds are a poor target.
- Watch water quality. Hard water and dirty water can reduce performance. Check the label for what is required and follow it.
- Allow the product time to work. Read the label for the interval before drilling. Spraying and drilling the same afternoon because the drill is ready is not a plan.
- Plan for the perennials. Docks, thistles and couch will not disappear because the plough has gone. They often get worse before they get better, and they need timing and rates chosen deliberately.
- Think about what comes next. Weeds that were rare under ploughing can build up in undisturbed soil. Rotate what you use and when you use it.
For product choice, rates and timing, follow the label and take advice from a qualified agronomist who knows your soils and your rotation. This is not an area for improvisation.
Expecting the Drill to Fix the Soil
Direct drilling changes how soil behaves, but it does not undo compaction, poor drainage or low pH. A plough pan or a tight layer from years of traffic in wet conditions will still be there in year one, and the drill will simply cut a slot into it.
Get soil tests done before you commit. pH, phosphate, potash, magnesium and organic matter are worth knowing, and lime in particular needs time to work down through the profile. Take advice on interpreting the results rather than treating the numbers as a shopping list.
Then dig for structure. Look for roots turning sideways at a consistent depth, which is the giveaway for a compacted layer. Reduce axle loads where you can, run sensible tyre pressures, keep heavy machinery off wet ground, and consider whether the worst field needs a one-off loosening before it joins the system.
Setting the Drill Once and Leaving It
Speed is the quiet saboteur. Push a direct drill past the speed it was designed for and coulters start bouncing, depth varies, and residue gets bulldozed rather than cut. Slowing down by a couple of kilometres an hour often costs less time than you think and buys a great deal of accuracy.
Check for blockages at every fill and at the end of every run, especially in the first few passes in a new field. Walk behind the drill immediately after it leaves the yard. Keep notes: date, soil conditions, settings, and what the field looked like a fortnight later. That record will be worth more than the manual next season.
Start Smaller Than You Want To
Pick one field, or one block of a field, and choose your kindest soil for it. Do not convert the whole farm in a single spring on the strength of one good open day.
Walk the field after drilling, again a few days later, and again as the crop emerges. Carry a spade on the tractor and use it without being asked. Look for gaps, misses and doubles, and work out what caused them while you can still remember the settings.
Expect a transition period. Soil biology, structure and weed pressure all take time to respond, and yields may dip before they settle. Talk to a neighbour who has been direct drilling for years, and be honest about which parts of your own system are ready and which are not. The farmers who succeed at this are rarely the ones with the newest drill — they are the ones who dug the most holes.
Photo: Nicolas Veithen / Pexels